In filmmaking, the camera is your eye, and how you position it significantly impacts the story you tell. Understanding and effectively using different camera angles can transform your shots, evoke emotions, and guide your audience’s attention. This short, quick guide will introduce you to the essential camera angles and how to use them to enhance your storytelling.
1. Eye Level Shot
Description: The eye-level shot is taken from the subject’s eye level, creating a natural and neutral perspective.
Use: This angle is often used in dialogues or scenes where you want the audience to connect directly with the characters. It provides a balanced view without any dramatic emphasis.
Tip: When filming at eye level, ensure the camera is at the same height as your subject’s eyes to maintain realism.
2. High Angle Shot
Description: A high-angle shot positions the camera above the subject, looking down.
Use: This angle can make a subject appear smaller, weaker, or more vulnerable. It’s often used to portray a character in a moment of defeat or to emphasize the scale of a situation.
Tip: Avoid overusing high-angle shots as they can make your footage look monotonous. Use them strategically to highlight key moments.
3. Low Angle Shot
Description: A low-angle shot is taken from below the subject, looking up.
Use: This angle makes the subject appear larger, more powerful, or intimidating. It’s commonly used to give a sense of dominance or authority.
Tip: When using a low-angle shot, be mindful of the background. Ensure it doesn’t distract from your subject’s intended impact.
4. Dutch Angle (Tilted Angle)
Description: The Dutch angle involves tilting the camera to one side so the horizon line is not level.
Use: This angle creates a sense of unease, disorientation, or tension. It’s often used in horror or thriller genres to convey instability or confusion.
Tip: Use the Dutch angle sparingly to maintain its effectiveness. Overuse can make your film look amateurish or overly stylized.
5. Over-the-Shoulder Shot
Description: This shot is taken from behind one character, showing their shoulder and part of their head, with the focus on the subject in front of them.
Use: The over-the-shoulder shot is ideal for conversations, giving a perspective from one character’s point of view. It helps establish spatial relationships and intimacy between characters.
Tip: Ensure there is a clear focus on the subject in front of the shoulder to maintain visual clarity and narrative focus.
6. Bird’s Eye View (Overhead Shot)
Description: The bird’s eye view is an elevated angle looking straight down on the subject or scene.
Use: This shot can provide an overview of a setting, showing spatial relationships and layout. It’s useful for establishing scenes or showcasing action sequences from a unique perspective.
Tip: When using a bird’s eye view, consider the composition and symmetry to create visually appealing shots.
7. Close-Up Shot
Description: A close-up focuses tightly on a subject, often the face, to capture detail and emotion.
Use: Close-ups are essential for conveying emotions and reactions, making the audience feel closer to the characters.
Tip: Pay attention to lighting and focus to ensure the subject’s features are clear and expressive.
8. Medium Shot
Description: The medium shot frames the subject from the waist up, balancing between close-up and wide shots.
Use: This versatile shot is ideal for dialogues, providing context while still focusing on the characters.
Tip: Use medium shots to transition smoothly between wide shots and close-ups, maintaining visual continuity.
9. Wide Shot (Long Shot)
Description: A wide shot captures a subject within their environment, showing the entire body and surrounding space.
Use: Wide shots are perfect for establishing scenes, showing action, and providing context for the subject’s location and movement.
Tip: Use wide shots to set the scene or when the subject’s interaction with their environment is essential to the narrative.
Practical Tips for Using Camera Angles
- Plan Your Shots: Before filming, storyboard your scenes, considering which angles best tell your story.
- Experiment: Don’t be afraid to try different angles to see what works best for your scene.
- Maintain Continuity: Ensure your shots flow smoothly to avoid disorienting your audience.
- Use Angles to Enhance Emotion: Choose angles that complement the emotions and actions of your characters.
- Practice: The more you practice, the more intuitive choosing the right angle will become.
By mastering these basic camera angles, you can significantly enhance your storytelling capabilities and create engaging, visually compelling films. Happy filming!
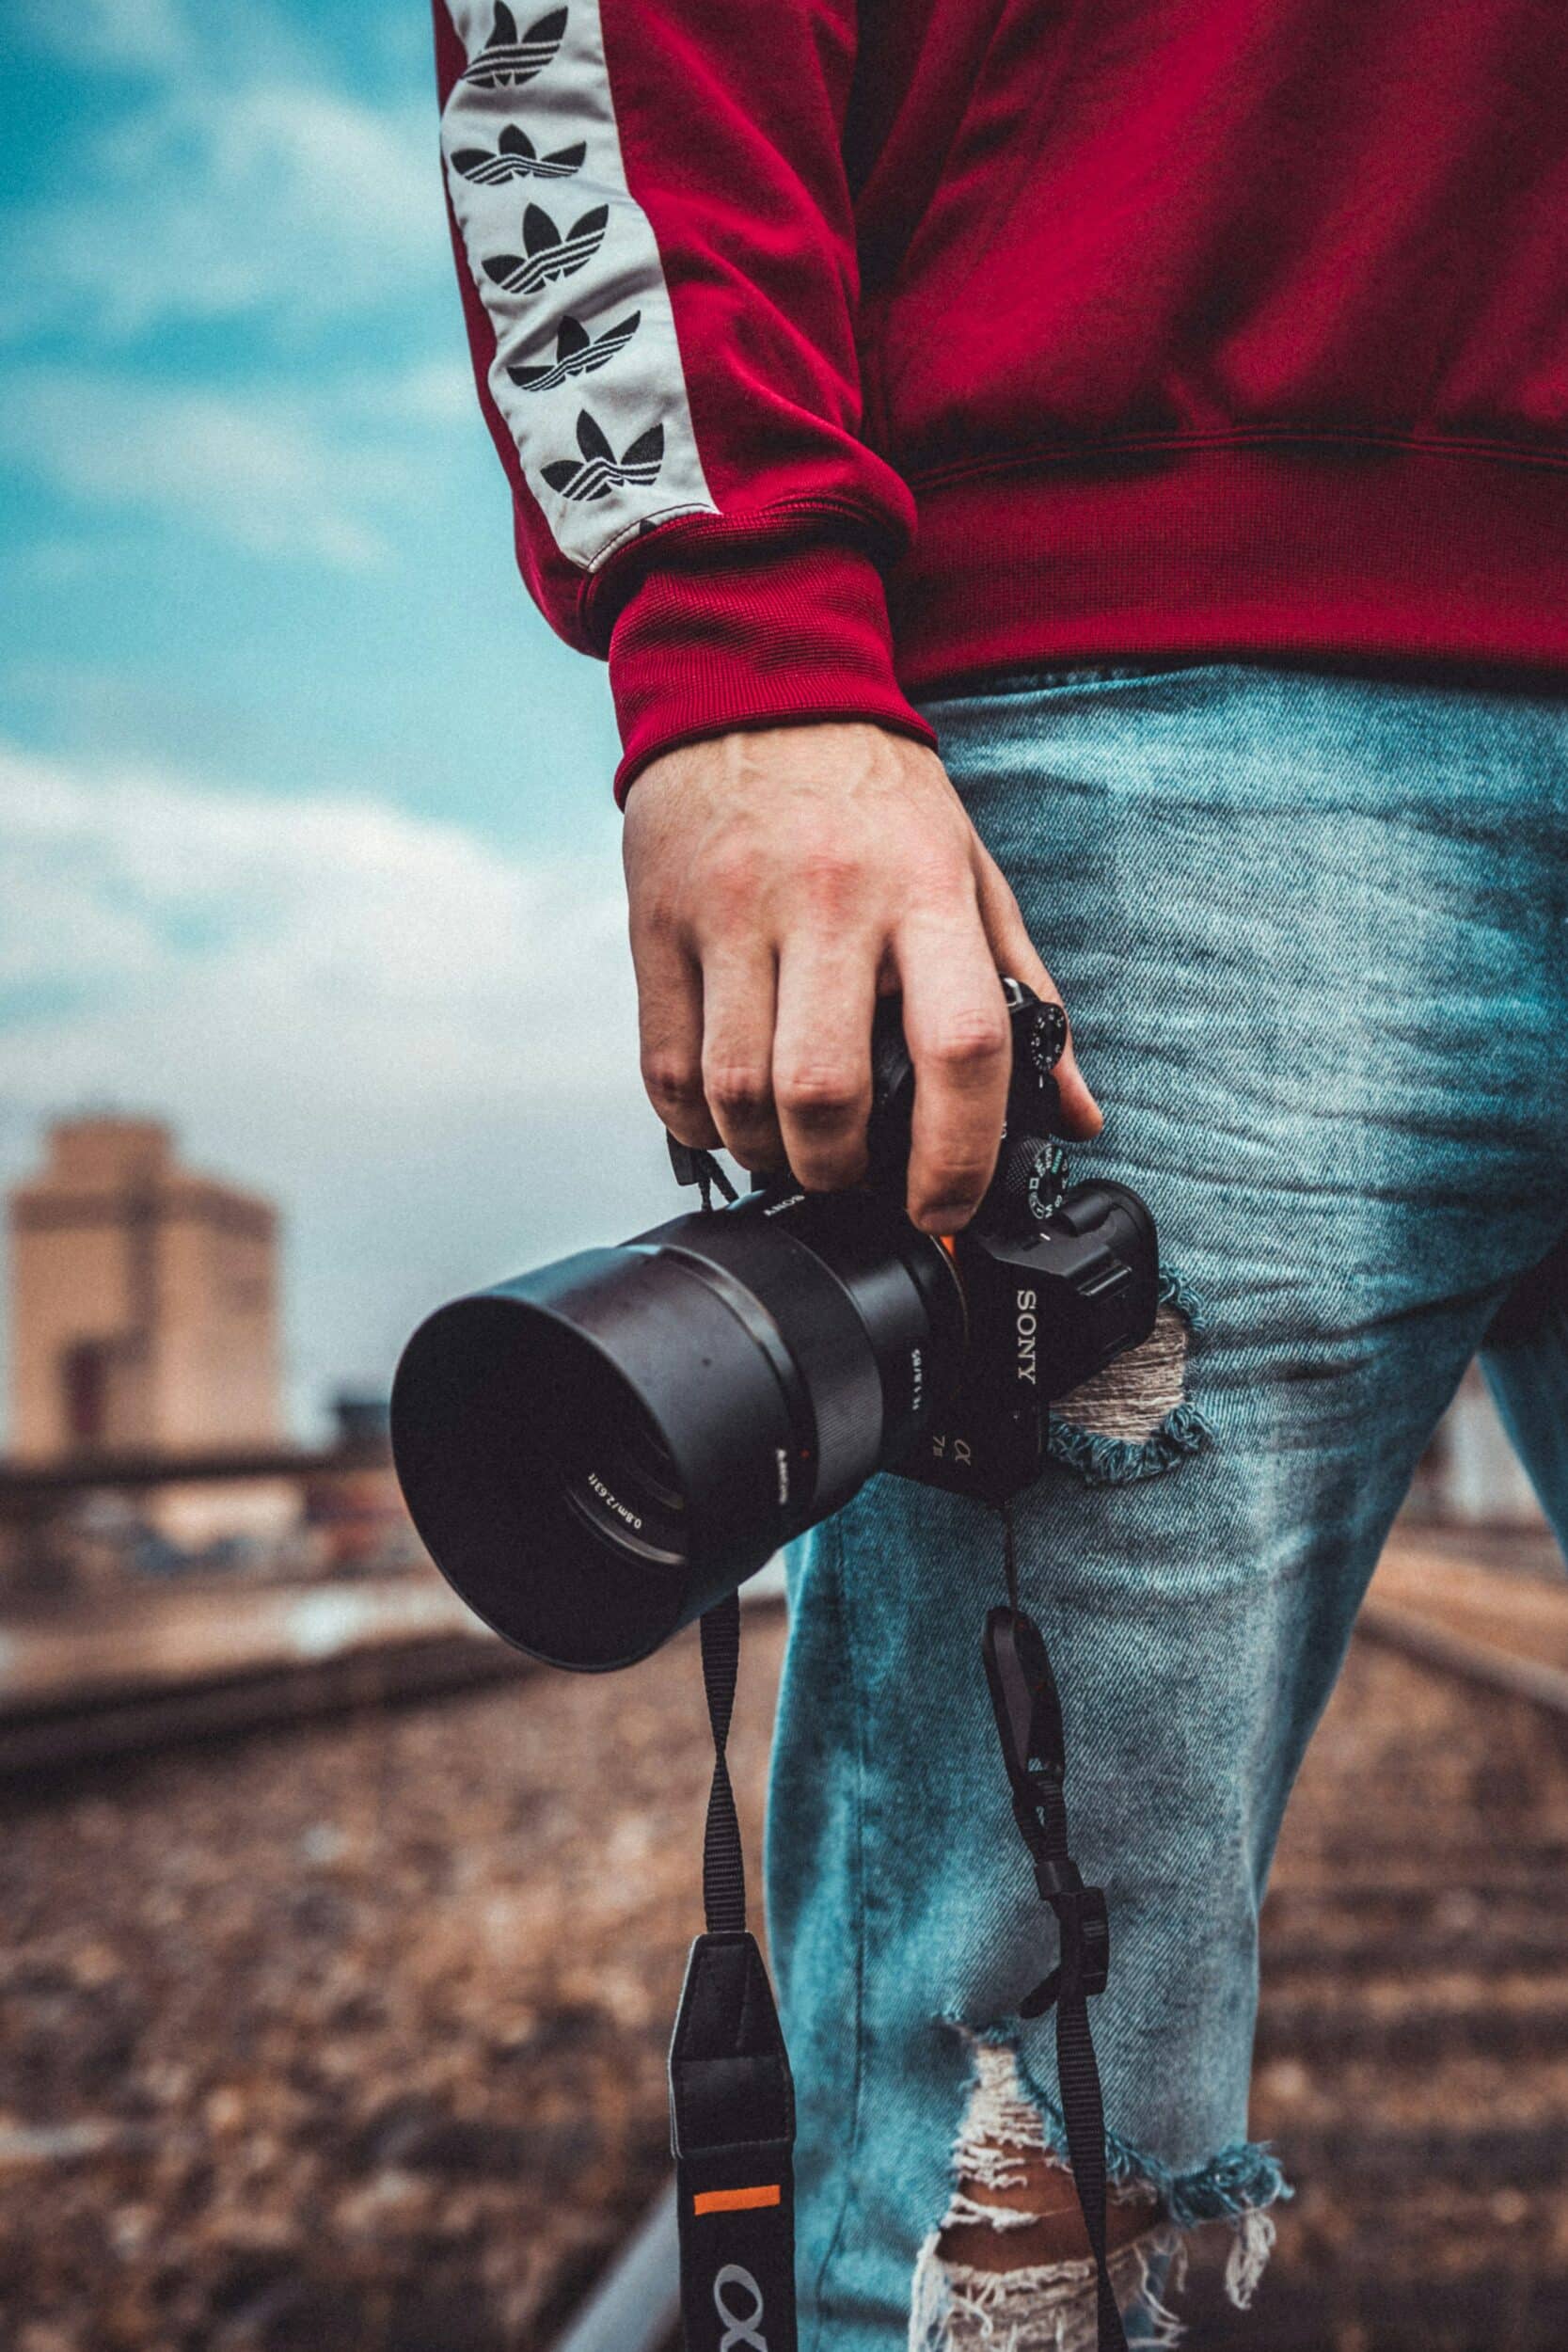
Above photo by @iamwilliamkrause.