By Anthony Q. Artis
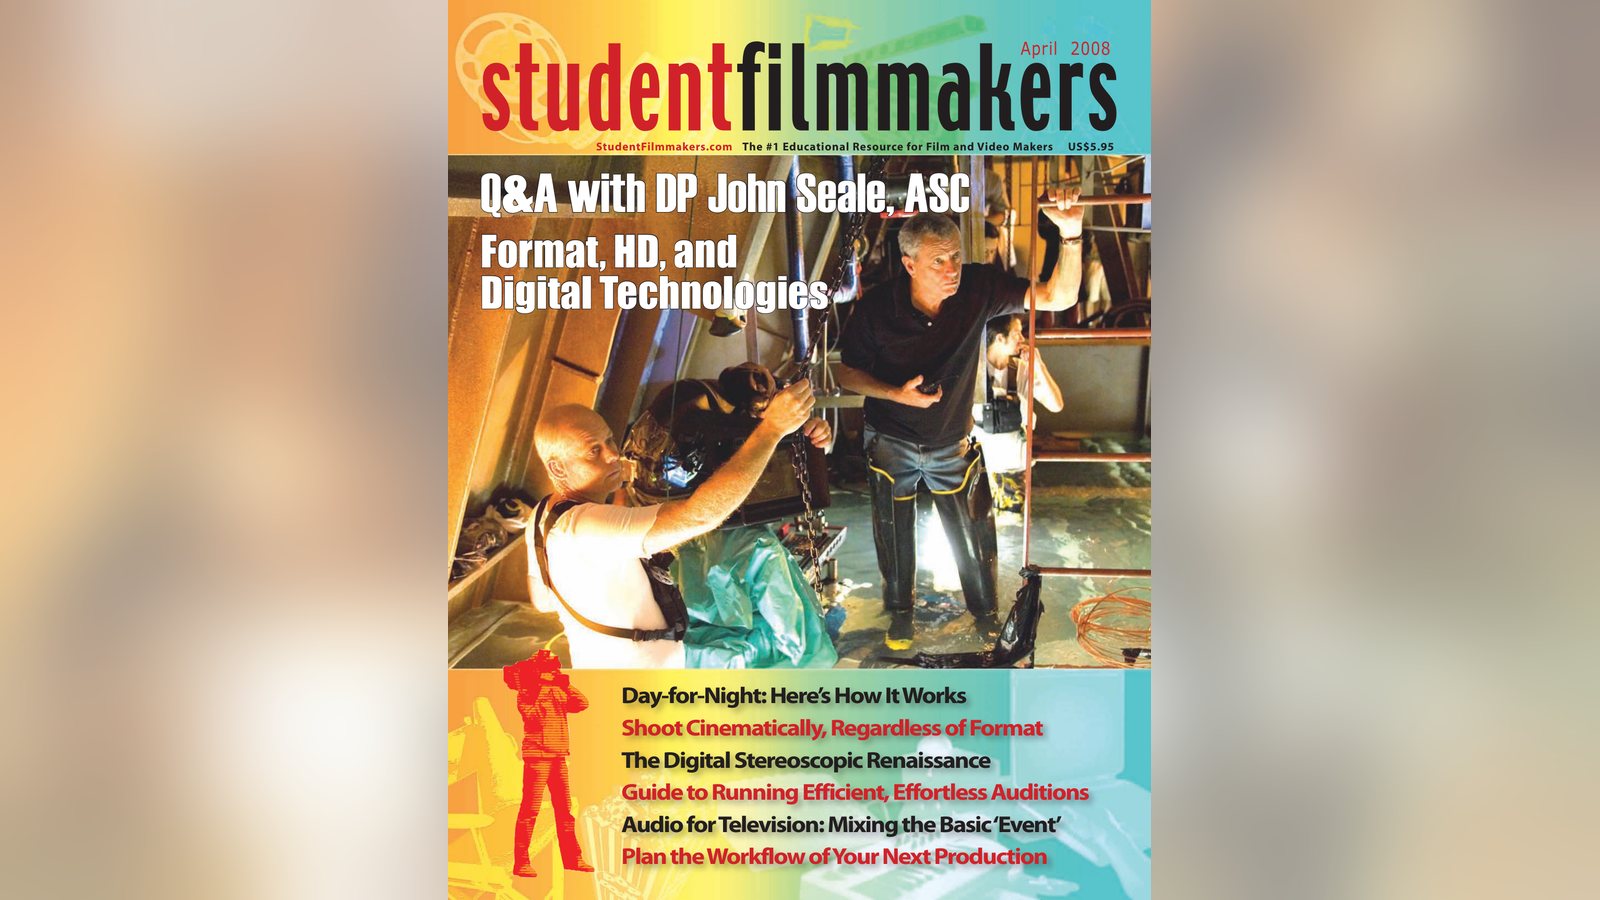
Want your video to look like film? Anthony Q. Artis explains five techniques: 24p, shallow depth of field, lighting, camera movement and careful exposure.
(1) Shoot with a 24P Camera
This is probably the single easiest thing you could do to get that elusive film look. Basically these cameras shoot video at 24 frames per second (fps) or electronically mimic 24 fps, which is the same speed that film runs. (Normal video is shot at 30 fps.) Those few extra frames can make all the difference in the world. 24P prosumer cameras are very capable of delivering a great film look right out of the box when set in their 24P modes. Better yet, you can go 24P and HD with the newest generation of HDV cameras.
(2) Light It Like Film
Just because a camera is capable of shooting in low light does not mean that it shoots the best images in low light. A big part of the reason film looks better than video is the lighting. Avoid low-light situations when possible and use professional lighting gear for controlled setups.
(3) Shoot with a Telephoto Lens or Use a 35mm Adapter
You can rent or buy special adapters that will allow you to use professional 35mm lenses (as in the same lenses used for 35mm film) on your camera. These lenses offer much greater depth of field than the standard prosumer video lens. Beautiful, crisp professional lenses and greater depth of field translates into a more filmic look for any footage.
(4) Use Filters
There is an entire arsenal of filters that can enhance the look of your DV footage to appear more like those beautiful frames of film. The most common are 1/4 and 1/2 Black Pro Mist Filters, Warming/ Enhancing Filters, Polarizing Filters, and Fog FX Filters.
(5) Use Film Look Software in Post
There are several different software programs and NLE plug-ins out there that will allow you to apply a film look to video footage in post-production. Programs such as Magic Bullet (an After Effects plug-in), Tiffen DFX Digital Filter FX, and most-recently Color, which now comes bundled with Final Cut Pro, all allow you to use a variety of preset film looks that mimic different film stocks and/or film post-production processes or customize your own film look. Anthony Artis (prn. Ant-ny Art-iss) is a veteran guerrilla filmmaker, television producer, and author of the “The Shut Up and Shoot Documentary Guide” (Focal Press, September 2007). He is also the host of the Down and Dirty DV podcast on iTunes and CEO of the guerrilla filmmaking website, DownAndDirtyDV.com. your camera is good enough for the task. If you’re shooting a film, you need to step up to better optics. If the budget allows, rent (or borrow) a set of video primes. They are sharper and faster than a standard ENG zoom lens. Definitely not cheap, but your finished film will look noticeably better.
The first thing I do with the set is put away the 9mm lens and never use it, unless I’m tight for space or I want a wide look. Video has way more depth of field than 35 film (it’s closer to 16mm), and this lens will produce a very static look with little depth. I like the 24mm for master shots, and the 35mm for medium and over the shoulder shots, because the reduced depth of field those lenses produce separates the actors from the background. The right lens can make a nice shot spectacular.
Color Correction
Color correction is not for hiding your mistakes! Use the monitor when you’re shooting, and get it right the first time. Color correction should be called color timing, because it’s essentially the same procedure as timing an answer print with film. Your job is not complete until you finish this part, and it’s the last thing you do after the picture is locked. Here, you polish the look you started to create during production.
Every non-linear edit system has color correction software (Apple’s Color, for instance), and there are high end (and expensive) systems for doing digital intermediates from film (like the Spirit 2k) that are usually housed in fancy post houses, where for hundreds of dollars an hour you can tweak to your heart’s delight (or to the limitations of your budget). Get to know how these systems work, even if you never use them. The more you understand about the process, the better. It’s your job. Read. Google. Wiki. Take a DP out to lunch—they all like to eat.
Kevin Burke is a twice Emmy-nominated cinematographer (Disney’s The Book of Pooh, 2001; Sesame Street, 2005). His work as a director of photography includes It’s a Big, Big World and Seemore’s Playhouse (both airing on PBS); as well as new installments for Sesame Beginnings home video series, which Kevin served as co-producer and DP. His camera work has been seen on the Sci-Fi Channel, ABC, ESPN, PBS, the History Channel, Nickelodeon, several film festivals, and in theatres near you.
Related filmmaking guides
- Camera angles in film: a beginner’s guide
- Filmmaking resources
- 16 best filmmaking sites for indie filmmakers
Keep learning filmmaking
Want more lessons like this? Join StudentFilmmakers free for live webinars with working pros, and stream on-demand filmmaking classes in cinematography, directing, screenwriting, sound and post.