
By Dave Lent
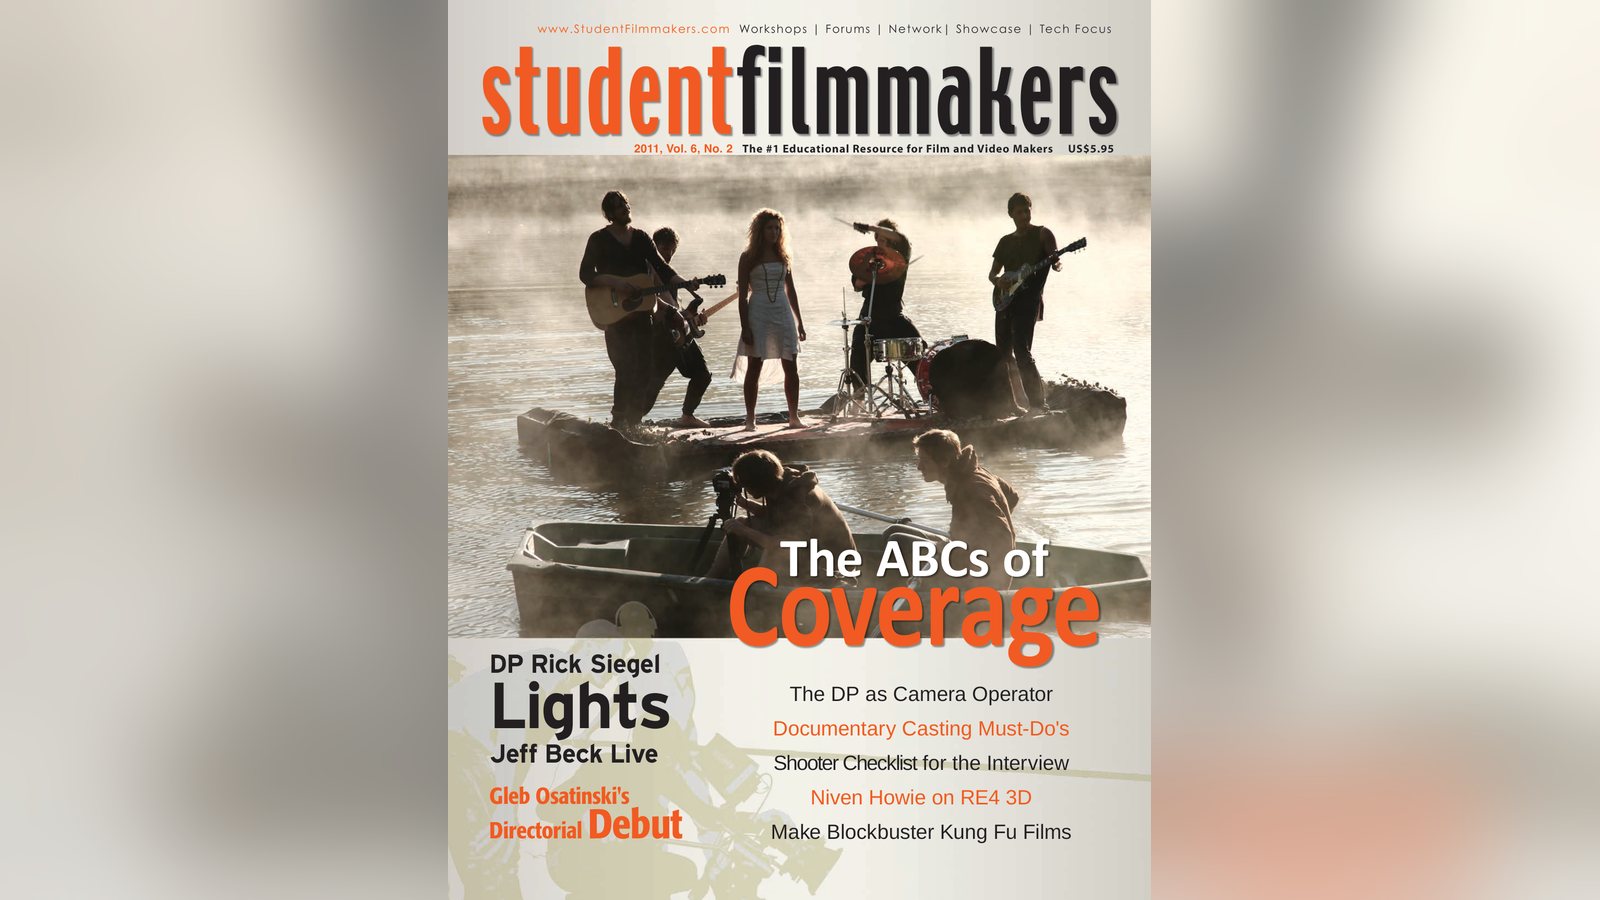
Cameraman Dave Lent says the job is 10% creativity and 90% furniture moving. His checklist for setting up a great sit-down interview, step by step.
I’m only half-kidding when I tell people my job as a cameraman is 10% creativity and 90% furniture moving. After a couple hundred interviews you’ll be pretty good at it. The furniture arrangement in most homes, office buildings and conference rooms is rarely how you need it to be. Interviews, especially the one-person sit-down variety, are the most common assignment for the news and documentary shooter. While logging thousands of interviews during my nearly forty years as a cameraman, I’ve put together a mental checklist of things to think about and do while setting up for an interview. Notes: I use the word “client” to include producer or reporter. (Due to space limitations, I have omitted discussion of cutaways, reverse shots and b-roll.)
1. How much time do I have to set-up the interview? Ask your client for a reasonable deadline. And be ready to roll when the agreed-upon period is up. Under pressure I can set up for an interview in one, five or twenty minutes. I can happily use two hours. Naturally, the look and sound of the interview will reflect the amount of setup time available. Practice setting up for the ‘Quick and Dirty’ situation.
2. Choose a room for the interview. If you have options, choose a room with a workable background. When possible, avoid light-colored walls (competes with the subject), bookshelves (cliché), and windows (unless you have a powerful daylight fixture). Look for the largest space available. Then position the subject’s chair with enough distance from the background to avoid spilled light. If you can position the camera far from the subject, you may be able to blur the background. Press gently for what you want, keep in mind your job is to make the client happy. That being said, make yourself happy first.
3. Daylight or tungsten? If using tungsten fixtures, close the blinds or shades or crack them slightly if you like the effect. If using daylight fixtures, place the subject’s chair near a window for a soft fill.
4. Position non-swivel chairs for the subject and the interviewer, and decide whether the subject will face to the left or right of the camera.
5. Set up the tripod and camera at a height where the lens is level with the interviewer’s eyes. This puts the viewer at the same height as the person speaking.
6. Level the camera, dial the appropriate filter and adjust the viewfinder diopter to the eye you’ll be using to monitor the interview.
7. Stage your gear in a place that won’t obstruct others from moving around or passing through. Locate a convenient spot to stage your light kit; tabletop level is easiest on the back. Your light kit should include a large soft cloth to use as a cushion between your light case and fine furniture.
8. For sit-down interviews I use the cross lighting style:
two light sources that oppose one another. The backlight, aimed at the head and shoulders of my subject, is opposite the key light, directed towards the face.
9. Exhaust existing light sources. Is there a lamp or window that can serve as a key or fill light? In tight office quarters, I’ll often move my subject close to a window and add a single backlight. Voila!
10. You can also set up a soft key light (mine is a Lowel
Rifa 44) behind and far enough above the interviewer so the effect is logical, i.e. from an overhead or floor lamp source.
11. Set up a backlight opposite the key light, preferably on a boom arm to keep the stand away from the edge of the frame. My dedicated backlight, a Lowel 125w Pro Light, has a snoot attached, topped by a small circle of quarter-blue gel. The quarter-blue gives a slight color temperature contrast with the tungsten key light and produces a subtle, appealing effect. From the front, the subject is warm and from the back s/he is slightly cool. You can also reverse or enhance this effect.
12. Add a fill light, if you feel it’s necessary, either from your kit or an existing light source such as a lamp. A reflector will also work. Or break out a third light to illuminate some object or to project a logical shadow pattern in the background.
13. Run a/c extension cable from wall outlets to the positions of your key and back lights. Pool excess cable at the base of the light stand (so that if someone trips on the cable, heaven forbid, the light stand won’t fall). In high-traffic environments, gaffer’s tape loose cable to the floor or carpet.
14. Set up the microphone/s and lay them over the chair arms (not on the back or seat, where someone might damage them). If the chairs have no arms, tape the mics with small pieces of gaffer’s tape to the back of the chairs. Run audio cables to the camera, with excess cable collected at the foot of the chair (same principle as with the light stands). Interview subjects frequently forget they are attached and walk away. Very expensive.
15. Get a chair or stool for yourself. The more comfortable you are, the less wear and tear on your body and the more attention you can give to the interview (or your daydreams).
16. Check the mic levels at the camera with headphones. If another person is available, ask them to do a level check with the mics about eight inches below the mouth.
17. Set up a monitor, if appropriate. (I use a seven-inch
LCD near my feet or on a chair in front of me, as a more comfortable alternative to the camera viewfinder or its tiny LCD).
18. White balance the camera. If necessary, roll 15-30 seconds of bars and tone.
19 .Check the tilt and pan tension; adjust if necessary.
20. Put a back up battery and extra recording media (removed from the case) in a convenient spot within your reach. You may have to move fast.
21. If necessary, ask your client what kinds of shots s/he wants. One master shot or change the composition during questions? Using a crewmember or a volunteer in the subject’s chair, show the client what each shot looks like so there are no unpleasant surprises in the editing room.
22. More furniture moving. If there’s still time before the interview subject arrives, add or take away light or background objects. Once you’re satisfied, check with the client to be sure s/he is satisfied as well.
23. Once the interview subject is seated check the monitor or viewfinder for hotspots or reflections that you can fix either by moving or dimming the light source or with pressed powder. I carry small pressed powder compacts for dark and light skin.
24. Bless the shot. Look carefully at the edges of the frame for light stands, cables or anything unwanted or distracting. I once shot a 30-minute interview with a celebrity who had an enormous booger partially extruded from her nostril; I mistook it for a mole.
To add an appealing edge to an interview – do this only with experienced subjects – ask him/her to sit on the front edge of the chair or sofa. Or if s/he is behind a desk or table, see if they’re willing to lean forward with their elbows on the desk. These two positions center the subject’s energy and add some tension to the frame. They also put the subject at a more intimate distance to the interviewer and reduce awareness of the camera’s presence.
When I encounter subjects who move around in their chair or fidget, I use the tilt lock on my tripod fluid head like a brake pedal in bumper-to-bumper traffic. It’s wasted effort to move constantly with him/her so once I’ve figured out the subject’s pattern, I move, lock the tilt lever slightly for a rest, then unlock and move again. This technique works especially well for long interviews, speeches and press conferences. Interviewing Celebrities and Public Figures One of the many privileges of a career in news and documentary camerawork is the opportunity to work alongside powerful and legendary public figures. I discovered a little secret that never fails to make a celebrity grateful for my presence: Become invisible. My role is to be the one person in the room who doesn’t need an autograph, a photo or personal attention. Sure, I’d be thrilled to get an autograph, but I like even more the little nod or wink of gratitude that often comes my way as the celebrity leaves the room.
The rewards of shooting interviews are many. You’ll meet amazing people and learn at least a little bit about a lot of things. You also get to enjoy the lasting physical benefits of moving a dazzling variety of furniture.
David Lent’s career in television spans thirty-five years. David co-produced and shot the critically acclaimed PBS special “Life Without…Inside San Quentin.” With Susan Burgess-Lent, he co-produced the documentary feature “Staying Alive,” based on Studs Terkel’s best seller “Working.” David currently works as a news and documentary cameraman for numerous domestic and international clients including BBC, CNBC, BRAVO, FOX News, MTV, GRANADA, TV ASAHI, YLE, ARD, and ORF. David is the author of “The Laws of Camerawork” and soon to be released book, “Video Rules.”
Related filmmaking guides
- Film directing: getting good performances
- Coverage and the master shot
- Camera angles in film: a beginner’s guide
Keep learning filmmaking
Want more lessons like this? Join StudentFilmmakers free for live webinars with working pros, and stream on-demand filmmaking classes in cinematography, directing, screenwriting, sound and post.






