By Kevin Burke
Stop worrying about video versus film. Kevin Burke explains contrast control and the shooting choices that make any digital format look cinematic.
Stop Worrying and Love Video
Growing up, I wanted to be Vilmos Zsigmond. I went to film school when everyone I knew was looking to become lawyers and stockbrokers. It was the eighties. Fax machines were still fascinating inventions. Editors still cut movies on a Steenbeck. Back then, video was mostly used for TV news and sitcoms, and it seemed to produce only ugly, flat pictures. Most of the film crowd I went to school with thumbed their noses at it.
My major required that I take a few video classes, so I took a course in experimental video (I remember thinking what an oxymoron that was). I’m really glad I did, though, because I was introduced to the work of guys like Nam June Paik and Bill Viola, and I started to really appreciate what you could do with the medium. In the right hands, video is actually delicate, visceral, and downright beautiful. Best of all, it’s really cheap.
You’re probably reading this article because you want to know how to make video look like film. Let that notion go. These days, video images rival those shot on film. What we’re really after is how to shoot cinematically, regardless of format.
There are three important items to think about when shooting video—contrast, optics, and color correction.
Contrast Control
Video still doesn’t have as much dynamic range (sometimes called exposure latitude) as film, meaning that highlights will blow out and shadow areas will go black much quicker for video than for film. Still, both mediums require that you, the DP, control the contrast in a shot.
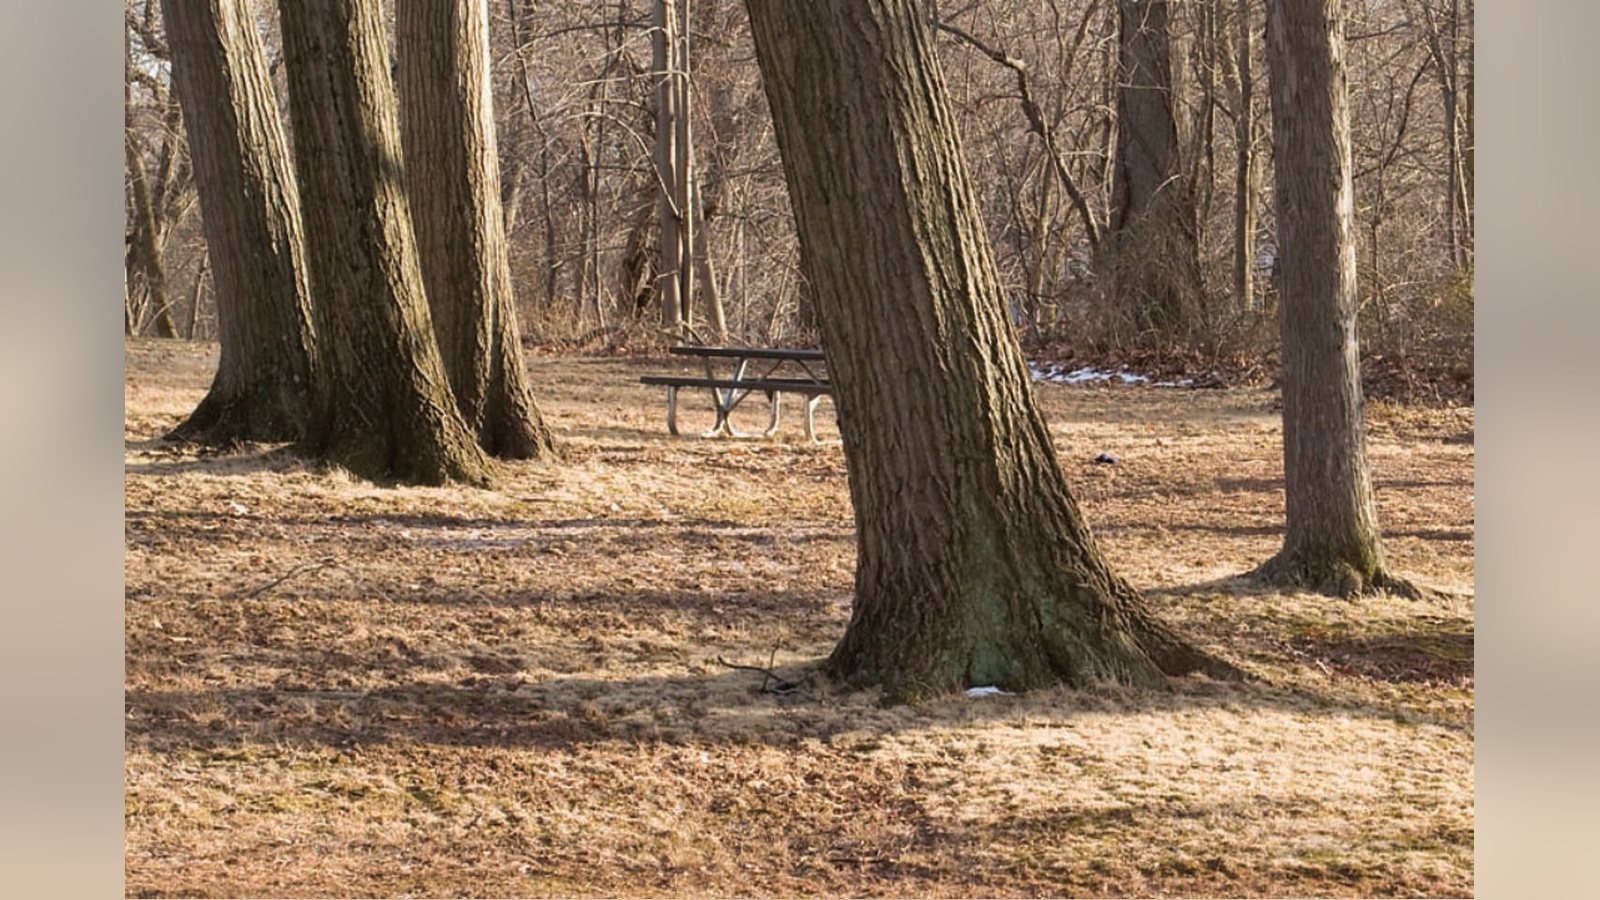
Here’s a typical example. An actor is sitting in a dark room, her back to a bright window. Your director wants to see the actor’s face and the big oak tree that’s outside the window. A spot meter reading on the actor’s face reads f2.8, but the light coming through the window reads f11. That’s a four stop difference! If you expose for your actor at f2.8, the window will blow out, and you won’t see a tree, just blaring white haze.
Vice versa, if you stop down on the iris (from f2.8 to f16) and expose for the tree, your actor becomes a silhouette. How will you see the expressions on her face?
With video, I always look to control the brightest part of the shot, because once you blow out, you can’t get detail back, and you might not be broadcast legal. Also, I think it’s always better to underexpose your video overall by a ¼ stop—you’ll have a denser image and can more easily pull your levels up in post during color correction. More on that dangerous statement in the last section.
First off, set your stop at f.4/5.6 (right in the middle). Put some neutral density gel on the outside of the window (.6), and maybe warm it up with some 1/2 CTS (straw). Lovely. You’ve just taken the window light down by about 1 and1/3 stops.
Give your actor a nice key light, and bring her face up to an f.4. She’ll be a ½ stop underexposed, while your window light is about 1 and 1/2 stops overexposed; it’s hot, but you’ll have detail. You’ve compressed your subject contrast from four stops to two. Sweet!
Optics
Lenses are the most important part of making an image, so don’t think the cheap ENG lens (or worse, the fixed auto focus lens) on
Related filmmaking guides
Keep learning filmmaking
Want more lessons like this? Join StudentFilmmakers free for live webinars with working pros, and stream on-demand filmmaking classes in cinematography, directing, screenwriting, sound and post.