By William Donaruma
“This is how I do it, but you can do what you want.” William Donaruma shares five helpful tips for editing stereoscopic 3D video in post-production.
When cooking a recipe with my Italian grandmother, she used to say, “This is how I do it, but you can do what you want.” Of course we were always trying to emulate her version of any recipe in order to achieve that one of kind savory taste, but would eventually have to settle in to whatever worked best for us given our various resources and skills. The same can be said about post-production workflows, especially given the variety of acquisition options available these days. 3D is certainly no exception to this rule. I had previously written about my first experiences putting together a parallel 3D rig with RED One cameras and the subsequent workflow from r3d files. Since then, I have looked into the many options available, and with those options come many opinions in the professional world of 3D. Now let me say that there are many pre-eminent names in the work of stereoscopic filmmaking, like Geoff Boyle, Tim Sassoon and Bernard Mendiburu, and I do not fall into this list at the moment. There is quite a learning curve involved in order to achieve and appreciate stereoscopic imagery, so what I strive to present is a perspective and discovery of what the many tools, options and opinions there are surrounding the stereoscopic world of production, post-production and exhibition. It is also important to note that I do not endorse any of the products mentioned, nor do I have any stake in their use or commercial success.
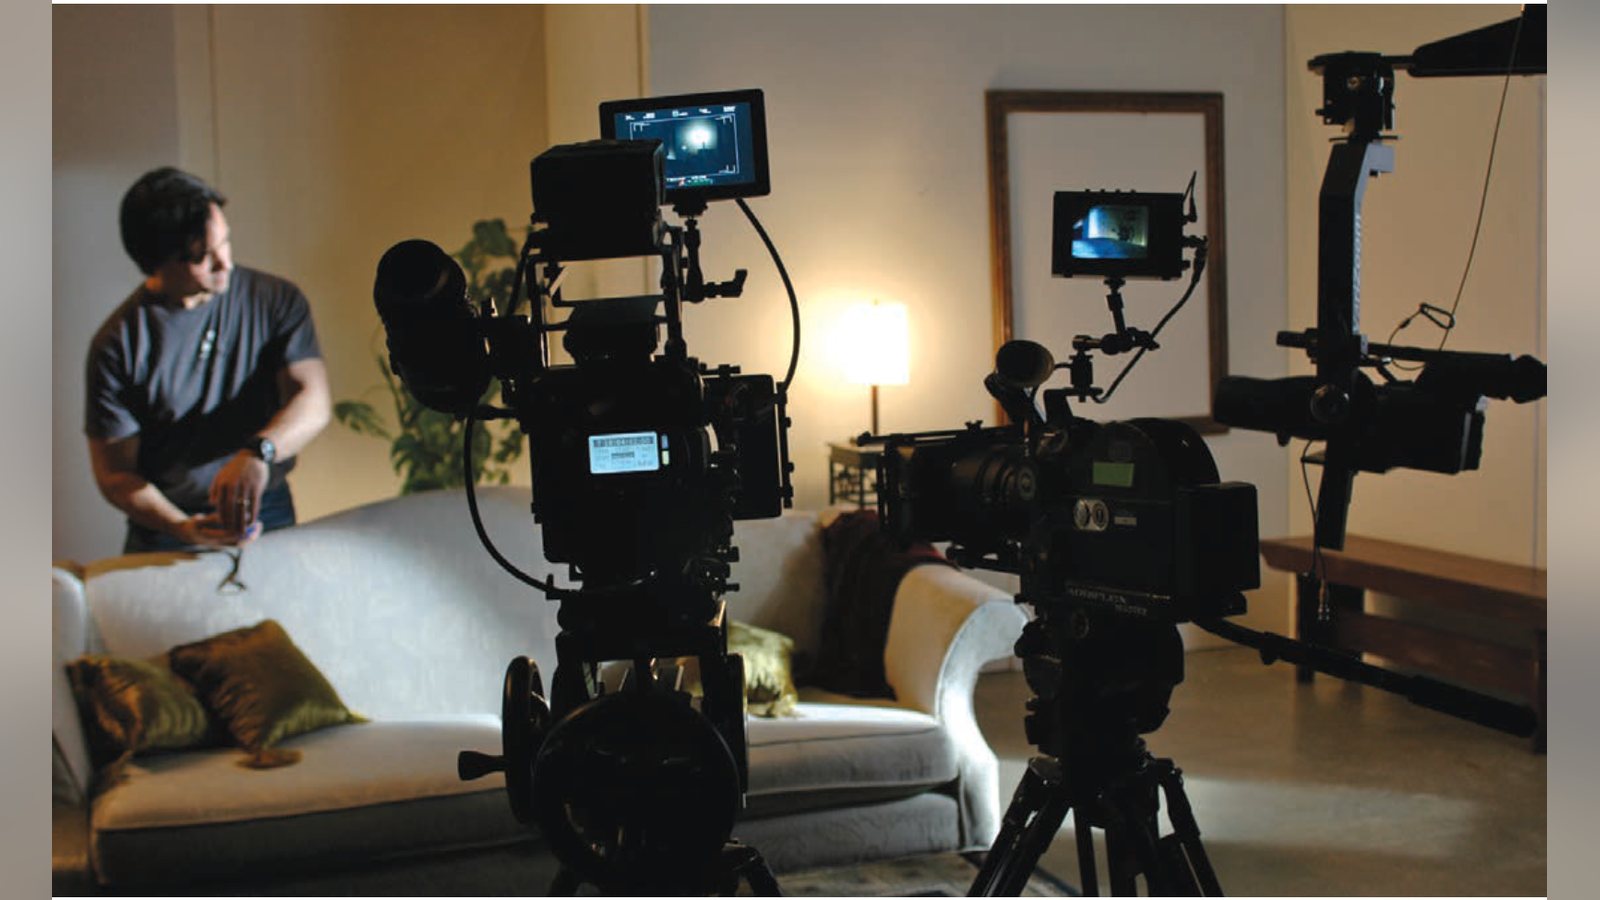
While my first foray into 3D production was with RED cameras, I now have the opportunity to work with the new Panasonic 3DA1 camera shooting AVCHD on dual SD cards. While I will focus on the post process, I have to say that shooting with this small camera is very similar to shooting with the HVX200 in terms of its ease of use. My simple test shots would have taken an entire day and small crew to handle the gear I would have needed otherwise. These shots were handled in less than two hours shooting by myself. Of course, now we open up the discussion into 4K vs. AVCHD, which does not compare, but does provide an example of how far reaching the options are and the debates they foster.
Using the 3DA1 footage as an example, I will highlight a popular workflow option while providing a perspective on simplicity versus needed functionality on higher end options. The first steps to take are in the organization of left and right eye footage by simply creating folders within a project name folder indicating Left and Right and dragging the entire contents to those respective folders. Eliminating the step I originally took to process r3d files within RedCineX, I was now able to import directly into Final Cut Pro through the Log and Transfer function, just like you would do with P2 card contents. Naming structure can depend on your own system, but I always include something in the name indicating R or L so I never lose track and then sending them, once again, to respective folders. Now you should have transcoded ProRes files within your FCP project. An easy and simple system some people use is to cut the Left Eye footage as usual and then apply an EDL to the Right Eye footage, thus creating a duplicate time line for each eye. This is assuming that all of your footage matches perfectly if you are using a two camera rig and that no adjustments to the convergence will be needed. It is a good idea to always check the Right Eye throughout the editing process to make sure there are no surprises in the end once you line them up. The 3DA1 clips preclude the need to sync your files since they are matched perfectly when recording. Otherwise, an additional step is taken to trim each clip and line them up with a slate or equivalent marker, much like you would sync picture and audio files. This is done before we make a stereo file combining the left and right camera clips in the next steps.
I have become a fan of the Cineform plugin with their Neo3D applications including its associated software FirstLight. While being a relatively pricey option, the flexibility of making various picture adjustments to both eyes while affecting the FCP timeline concurrently is fantastic. More importantly, you can now export stereo files so they exist as one clip also allowing you to adjust convergence and see in a variety of 3D views including side by side, difference and simply anaglyph so you can do checks with your current monitors. In order to use FirstLight you will first have to convert your ProRes files (or whatever file type you may be working with) into Cineform files by either exporting them from Final Cut Pro or using the included ReMaster software that comes with Neo3D. This program will take your original files and you provide export options into the Cineform codec. It can also be used as a conform tool to offline RED files and send them back to the original r3d clips for finishing. I like putting them into a Cineform folder with Left and Right Folders once again. From here you can use the import function or drag the clips in the media pane within FirstLight. Mark each clip as Left and Right clips in Firstlight (command + L or R) and export as a stereo file. This will create a MUX file, or multiplex, combining the information from both files into what is seen as one clip. In a recent partnership with Panasonic there is now a Windows option to automatically MUX the 3DA1 left and right clips from a 3D top menu. This should eliminate the need to first import into FCP unless you prefer to log and name your clips. A Mac version is said to be available soon, probably by the time of this printing. You can then look at the file as flat 2D for ease within your edit and then change the viewing options as mentioned above to check for depth.
Speed and Grace: Cutting in 2D will have
You would then import your Cineform MUX files into Final Cut as singular clips and edit as usual. Running FirstLight in conjunction with Final Cut will allow you to make various adjustments to color, alignment, white balance and more and then see the results within your Final Cut timeline, much like Adobe Creative Suite products. You can also edit your Cineform clips and then import your project into FirstLight allowing you to make adjustments to the clips used in your sequence and see your changes in real time by switching between applications. There are many options that you can explore that I will not going into here for the sake of simplicity. It should be noted that the Cineform option is also available for Adobe After Effects & Premiere, Avid Media Composer and Sony Vegas along with Windows, so the Mac FCP option that I use is not the only one. In fact, 3D options are becoming more available within a very different effect in 3D since the variances in depth can cause eye strain and become jarring. This is where a “Z Script” can be useful, which helps map the shots for 3D effect. Think of it as a stereoscopic storyboard or shot list.
Having a proper 3D monitor is useful
for checking your edit vs. using anaglyph on a typical monitor, but you have to keep in mind what the exhibition format will be. A small monitor may look fine in the studio, but the result can be painful on a big screen. The same rule is true in 2D when you may cut a commercial or music video for a small screen, but gets messy in a cinema.
Geometric alignment tools
are important, especially when using a two camera system (versus a single recording system like the 3DA1), because they allow for independent corrections of left and right eye disparity. Vertical alignment is especially important. Such tools are found in software options mentioned above as well as heavy iron solutions such as Quantel Pablo.
Color Matching: While the 3DA1 is
matching both “eyes” automatically during set up, dual camera systems can vary especially when using a beam splitter. The glass element will reduce light transmission through one lens, thus compensation is needed to match both perfectly.
Convergence correction is particularly
useful to adjust depth settings from shot to shot and helps with reasons stated in note #1. With the proper tool set, such as Neo3D, you can even keyframe your 3D effect within a shot. A further need for adjustment would be for parallel shooting, whereby the cameras are never converged on set to avoid geometric keystoning. This is another topic of debate amongst stereographers.
various applications, especially Sony Vegas, which allows for 3D editing, adjustments, monitoring and authoring.
Another great option to consider is Dashwood Cinema Solutions 3D Toolbox by Tim Dashwood, which allows many of the features that Neo3D provides. In fact, a free download called 3D Clip Coupler is supposed to become available soon that will simply merge 3DA1 clips into stereo files that you can then edit. Many tutorials can also be found on Dashwood’s site that include Neo3D in conjunction with 3D Toolbox.
A final step to the 3D workflow would be to export both the Left and Right camera edits as separate files and EDLs so that further adjustments can be made later, which is especially important depending upon what the exhibition format will be. Viewing on a 24” studio or production monitor during post can look good, but can end up being painful on a large scale cinema screen. This is where a Z script can be important, which tracks the rhythm of 3D depth. It also allows you to save a master Left and Right eye file, so you don’t lock yourself into one 3D viewing option for various forms of exhibition. A good stereoscopic engineer on set will also help offset post and exhibition problems by advising proper lens, distance and convergence choices from shot to shot. A variety of 3D apps have become available to help track such choices and warn against issues that result in improper 3D effects. In particular, there are two apps for the 3DA1 that use the cameras screen displays to advise against shots utilizing improper lens, focus and convergence choices.
One piece of the hardware puzzle that I will simply mention here is the addition of the AJA Kona 3G and Blackmagic Design’s DeckLink HD Extreme 3D cards. These units will allow dual stream in and out for ingesting various formats and outputting both Left and Right streams for monitoring and mastering. These can be important elements to the post process that you should know and investigate what would work best with your system and suite your own needs. I continue to experiment with various ingredients myself for my own 3D dish, but have not reached a conclusion on either of these as of yet.
A great option that I do recommend is to download trial versions of many of the various software options and also go though some of the documents that highlight specific workflows. Cineform has a great whitepaper on Neo3D and Final Cut Pro and the CML (Cinematography Mailing List) on 3D covers a wide range of topics where you’ll get to know the top names in 3D work. It is an ongoing education to achieving great stereoscopic images and working in 3D post for various platforms, acquisition and ultimately exhibition. What I lay out above is simply an option to consider and what has worked well for me in my 3D recipe. This is how I do it, but you can do what you want!
{ William Donaruma is currently working on a live dance production combined with 3D projection on stage. He would like to thank Michael Gonzales at ESPN 3D for his continued support in 3D education and contribution to this article. } William Donaruma has years of production experience having worked for Universal Studios as well as a variety of production companies and major television networks in film and video production. Returning to Notre Dame to teach production courses, he has won the Kaneb Teaching Award and was granted a fellowship at the Academy of Television Arts and Sciences. His website is www.williamdonaruma.com.
Keep learning filmmaking
Want more lessons like this? Join StudentFilmmakers free for live webinars with working pros, and stream on-demand filmmaking classes in cinematography, directing, screenwriting, sound and post.