By Saro Varjabedian
Soft light comes from diffusion or bounce. Saro Varjabedian shows how to build a 2.5K soft light box for under $250 for big, soft film lighting.
Passing light through diffusion material or bouncing the light off a reflective surface are the basic methods for creating soft light. When a cinematographer wants to utilize soft light in a project s/he will usually add a Chimera to a focused or an open-faced light, or shine HMIs through a large Griffolyn. The cost of purchasing one 2K Fresnel light with a Chimera can run around a thousand dollars. Renting the same kit can cost close to fifty dollars a day. These are certainly more time efficient methods for the cinematographer who is not confined by budgetary requirements. But for those who have some free time, are handy with a tool and would like to create a 2.5K soft light box for under $250, here is an alternative.
The first step is to gather all the required materials. Most of the materials can be purchased at any large home improvement store such as Home Depot. The diffusion material is the only item that will need to be purchased at a specialty shop.
Materials Needed:
a) 1 – ½” plywood 3’ x 4’ b) 2 – ¼” wood panels 2’ x 4’ c) 2 – ¼” wood panels 2’ x 3’ d) 10 – light bulb sockets e) 5 – plugs f) 2 – 10’ aluminum corner strips g) 2 – 17’ rolls of 14 gauge stripped wiring h) 1 – box of large wire nuts i) 1 – box of 1 ¼” wood screws j) 2 – 1” x 2” x 4’ wooden beams k) 2 – 1” x 2” x 33” wooden beams l) 4 – 1” x 2” x 22” wooden beams m) 5 – nuts/washer kit for lamps n) 2 – box of 10 assorted 1/8 IP nipples o) 1 – all purpose glue p) 1 – aluminum foil q) 1 – 6 socket power strip r) 4 – door handles s) 4 – 20” x 24” sheets of 216 Diffusion Step by Step Instructions
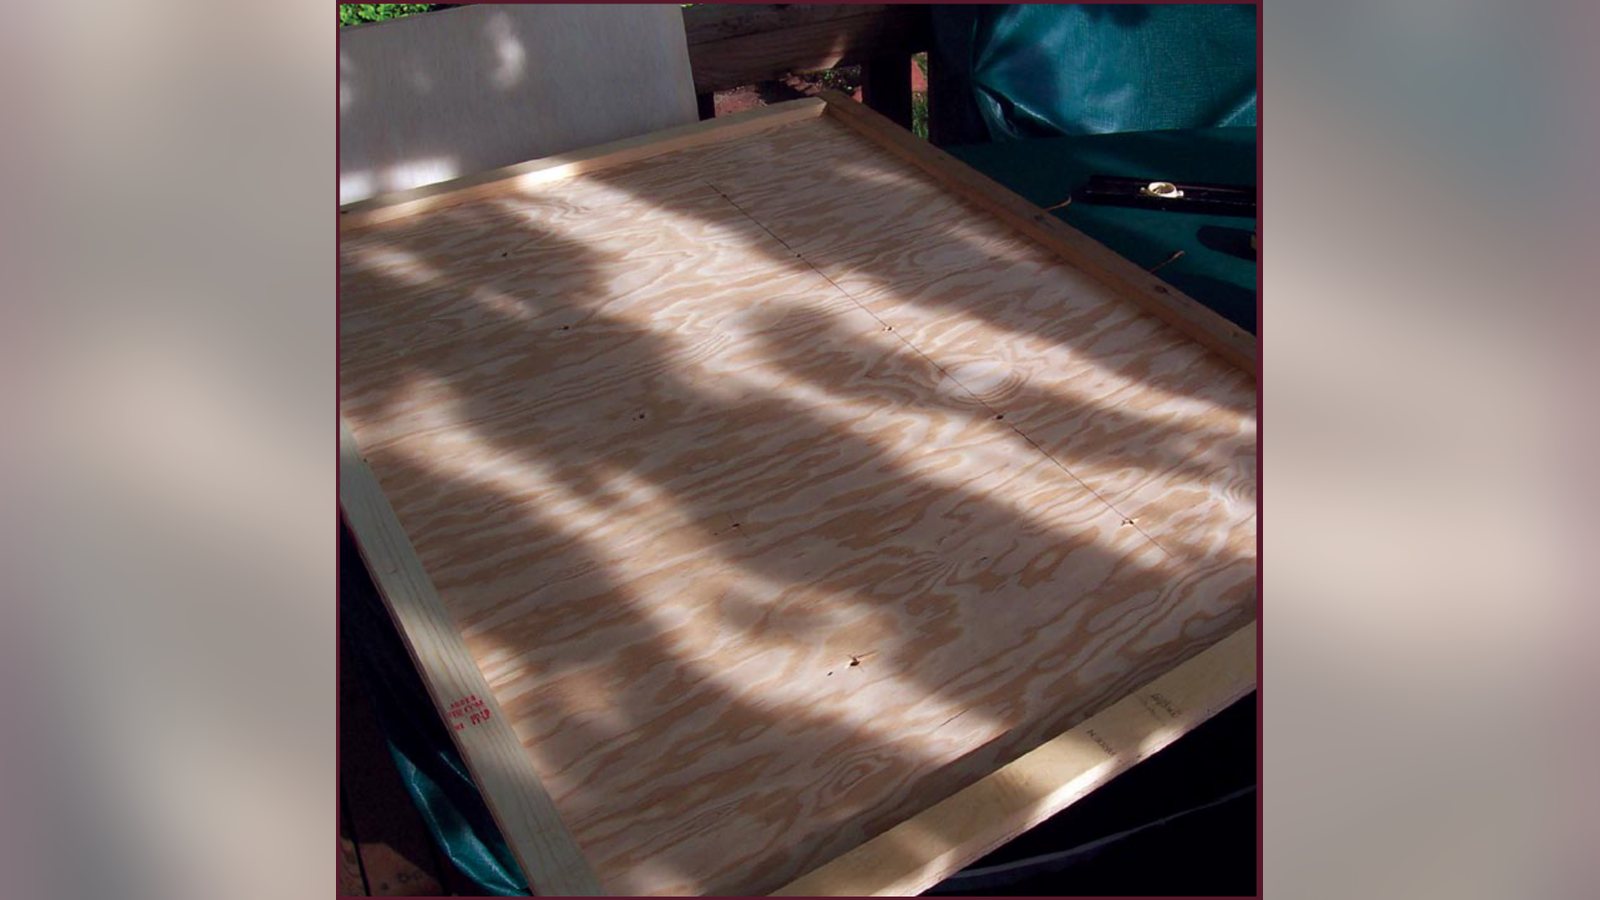
The ½ inch plywood board will serve as the base or backing for the light box. Begin by gluing the two 4’ beams and the two 33” beams around the edge of the box. Glue two 22” wooden beams at both ends of the 2’ x 4’, ¼” panels. Use clamps to hold the beams in place while the glues dry. After the glue dries, drill 10 holes into the backing. The holes should be arranged into two columns of five about a foot apart from each other and aligned evenly. The holes will need to be able to house the 1/8 IP nipples. Find a drill bit the same width as the nipple. After drilling the holes, paste sheets of foil to the side of the backing and the wooden panels with the glued beams. Make sure to glue the dull side of the foil to the wood so that the shiny side faces out. Next, screw in the 1/8 IP nipples into the holes on the backing. Before screwing on the light bulb sockets to the IP nipples, attach electric line to each socket. Put on the washer and nuts onto the IP nipples. Run the electric lines attached to the sockets through the IP nipple, and then, screw on the sockets. Take the plugs and attach electric line to each one. Next, tie together the electric line from every two sockets with the line from the plug so that every two sockets are hooked up to one plug. Make sure to connect one line from one socket with one line from the other socket to the line from the plug. Use the wire nuts to connect the lines, and then, tape the lines up with electrical tape. Attach the 6-outlet power strip to the middle of the backing. The total cost of the materials for this light box run under $250. A smaller soft light box can be constructed for even less money and would be easier to store. But keep in mind that the size of the light source is a factor in how soft the light will look. The light source is the area of the diffusion material that light passes through. It is important to note that a stand for the light box should be purchased so that the box can be hung and angled appropriately for the shoot. There is a kit that comes with two light stands and a truss by OnStage that retails for $170.
Often soft light is necessary to fabricate lighting conditions conducive to the story. A large soft light source can replicate sunlight or if hung on the ceiling can act to mimic chandelier light over a dinner table. Beyond recreating lighting conditions soft light often produces favorable results on the subject. Some of the results of soft light are shadows that are less defined with a gradation of tone producing a beautiful and natural look, hiding blemishes around the face by filling them in, creating a picture that has a full tonal range from light to dark with a lower overall contrast, and highlighting reflective surfaces with interesting reflections serving as a nice eye-light. Saro Varjabedian has worked on over twenty films, music videos and corporate videos as a cinematographer. He is currently working on “Erza,” which is still in its production phase, “Story 353,” which is in pre-production and writing a script exploring the avenues toward finding life fulfillment, “In Hand Behind the Head String.” Attach the panels to the base. Use a few screws to temporarily hold them in place. Then take the aluminum cornering and place it on the corners of the box. Next, drill in more screws through the aluminum into the backing and panels. Attach the door handles towards the four corners of the backing of the light box.
At this point the light box is constructed. Screw in 250-watt photoflood bulbs that have a color temperature of 3200. Attach 216 Diffusion to the open face of the box with some gaffer’s tape. The box will have an output of 2500-watts of soft, diffused light.
Related filmmaking guides
Keep learning filmmaking
Want more lessons like this? Join StudentFilmmakers free for live webinars with working pros, and stream on-demand filmmaking classes in cinematography, directing, screenwriting, sound and post.