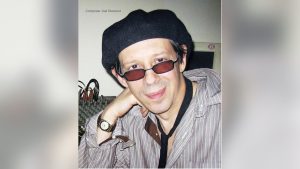
By Chris Cavallari
Documentary has always been the rogue brother of filmmaking. Chris Cavallari shares the twists, turns and lessons of making a low-budget documentary.
Documentary film production has always been the rogue brother of the filmmaking family. From the earliest films like Robert J. Flaherty’s Nanook of the North, to more modern (and controversial) fare like Michael Moore’s Fahrenheit 9/11, the documentary film focuses a unique, and purportedly unbiased eye on the drama of real life. And while this unbiased eye can delve deep into the human condition, it can only depict that condition through the lens of the filmmaker’s eye. It is because of this documentary film has become an important and contentious part of the film industry. Aside from the controversy documentary film seems to invoke, the genre has only recently begun to take hold of the mainstream film going audience.
Early documentary film was generally in the form of travelogues, also called “scenics.” These simple films took viewers on a visual journey of real places using a structure similar to that of narrative films. Many times, these films were re-enactments of real life events, presented in a true to story manner. Documentary film really came into its own during the early to mid-twentieth century, when news reporters found it to be an ideal way of bringing stories from the frontlines of WWI and WWII right into the American public’s neighborhood theaters. Newsreels took it a step further, many times staging the action to stir up passion from an audience. This type of documentary filmmaking came to be known as propaganda, and was used by governments on both sides of the conflicts to rally support for the cause. By the 1950s and 1960s, films like D.A. Pennebaker’s intimate Don’t Look Back and Jean Rouch’s Chronicle of a Summer introduced the film going public to cinema vérité, a style that took a realistic approach to its subjects. In these films, the camera acted as passive observer, allowing the subjects to create the story. Today’s documentary combines many of the styles from the past, creating a new, creative, and – of course – often controversial film genre all its own.
With the accessibility of ultra-portable digital video equipment, it’s become simpler than ever to produce a documentary in any number of different styles. That simplicity comes with a price: while digital video acts as the great equalizer, allowing people of all ages and backgrounds to document real life (not to be confused with Reality TV) on the screen, it also has led to a glut of mediocre filmmaking. This glut makes it difficult for the cream to rise to the top.
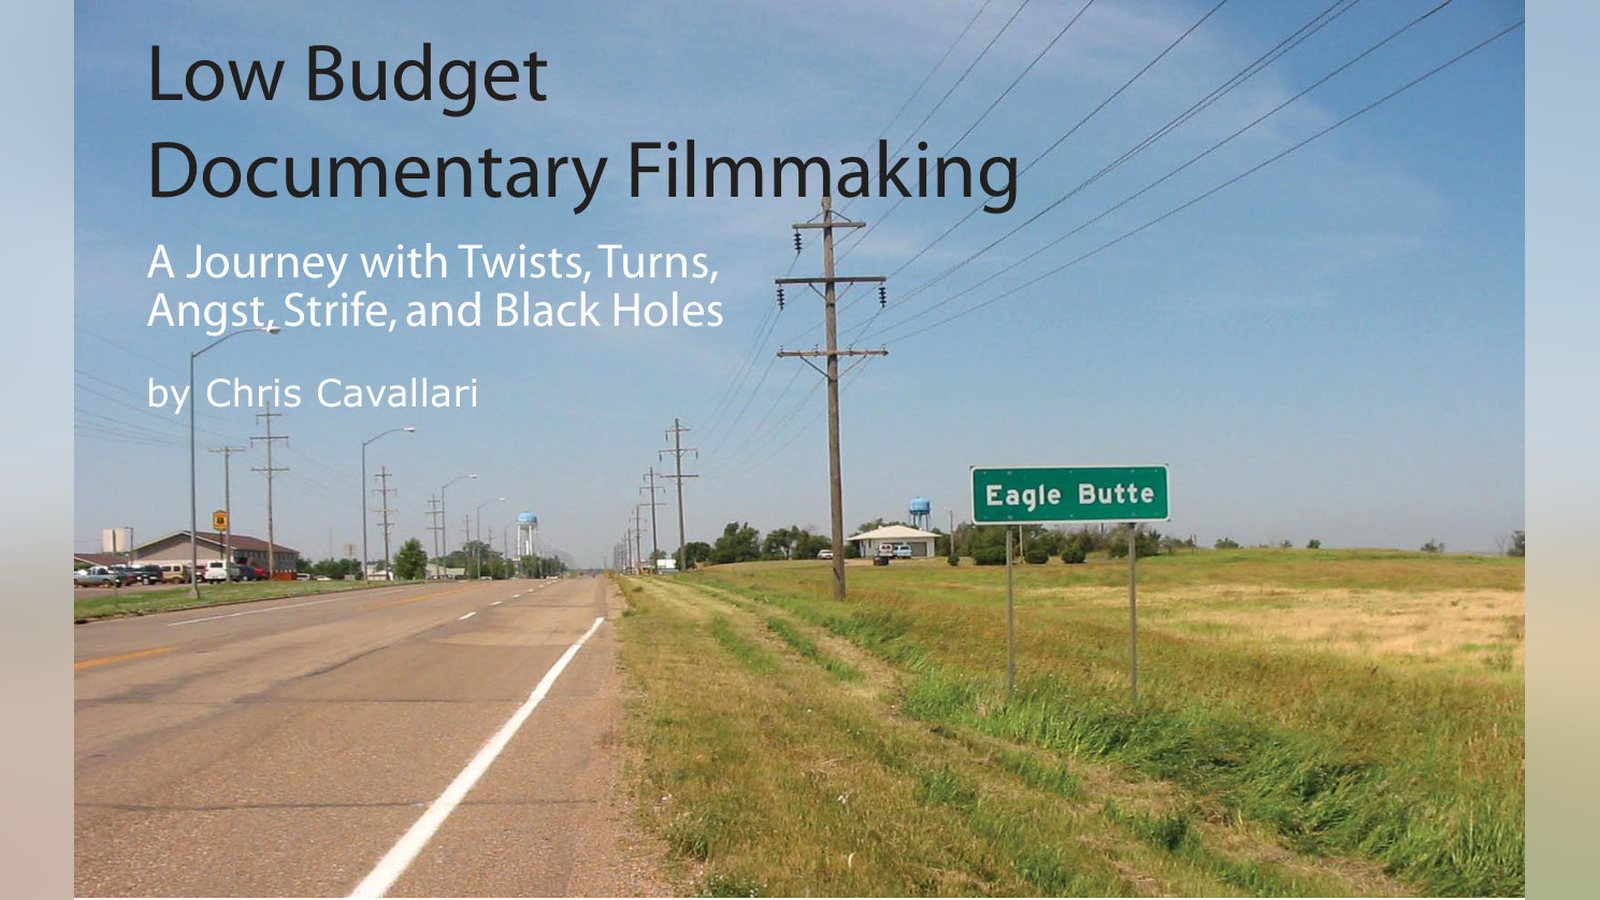
In 2005, I was asked to produce a historical record of some of the elders in the Lakota Sioux tribe on the Cheyenne River Reservation in South Dakota, USA. Armed only with a camera, tripod, some microphones, and my own two eyes, I trekked out to the relatively remote town of Eagle Butte, SD, to record on videotape the wisdom, advice, and teachings of the Lakota Elders. Keeping some basic filmmaking ideas in mind, even the low-budget documentarian can make an interesting and important piece of documentary film.
Even Documentaries Need Planning
The impetus for the Lakota Elders Project: A Journey of the Generations came about in early 2005 when my producers, Susan Dantino of Tunxis Community College (Farmington, CT) and Rochelle Ripley of hawkwing, Inc. (Glastonbury, CT) realized that there was a distinct need for the stories and lessons of the Lakota people to be preserved in some way before the Elders who hold those stories pass on. The oral tradition of the Lakota culture, like many cultures around the globe, is slowly fading as younger generations turn to television and the Internet for their entertainment and learning. Dantino, Associate Dean of Institutional Planning & Effectiveness at Tunxis Community College, and Ripley, founder and president of hawkwing, Inc., a Native American nonprofit organization, had met at a presentation on the Lakota tribe at the school, and quickly formed a relationship between Tunxis and hawkwing. From that relationship was born the idea that would eventually become The Lakota Elders Project.
When I was brought on to the project, I quickly learned that I would be doing most of the actual production work on my own, assuming the roles of co-producer, writer, director, cinematographer, audio technician, editor, and DVD producer. No crew for this one. This would test my skills as a documentarian and filmmaker.
It all started with an outline. In any documentary, even if you don’t lay out a script ahead of time, having an outline can help in planning for the inevitable: at some point, something can and will go wrong. The producers drew up a description of the project and a list of roles everyone would play in the project. The outline also included an outline of the Seven Lakota Values. These values are guides for the Lakota people and are a foundation upon which their heritage is based. Ultimately, these principles served as the guideline for the entire film. The goal of the film was to have a student from Tunxis meet with a student from Si Tanka University in South Dakota. These two students were chosen for being the most likely to gain something from the experience. Each of our roles was detailed in this outline, and carefully coordinated with the contacts at Cheyenne River and Si Tanka.
My next step was to research and purchase equipment. I would be traveling to South Dakota in September, a very dry time of the year in the Great Plains of the US. I knew that I would be carrying most or all of my gear on my person, and that there would be a lot of walking involved. A lightweight camera, microphone, and lighting package would be essential to the project. Determining the camera I would shoot with presented a challenge. I knew I wanted to have a feeling of history and time presented visually in the film, but I also knew that because of the impressively limited budget, I’d be begging, borrowing, and dealing to get much of the gear. Therefore, traditional film was out. That narrowed my choices down to a very few digital video cameras. Having previously worked with the Panasonic DVX100 camera, it was an easy decision to go with its newer model, the DVX100A. This camera shoots in 24fps progressive, and its CineGamma settings produce a beautiful film-like image. These features would give me the necessary look while keeping cost to a minimum.
I was able to borrow a Sony wireless lavalier microphone from a colleague, and I had purchased an Azden SGM-1x shotgun microphone. These would be my workhorses on the project, as I had no audio technician to mix in more sources. The wireless lav was used to mic the main subject of the interview, while the shotgun microphone picked up the interviewer’s voice and ambient sound. Mixing of the sources was done in camera using the DVX’s on board audio controls. Since I had to concentrate on the shooting as well, I basically used the “set it and forget it” method, except when levels began to peak. I monitored audio with a pair of Sony MDR-V600 professional studio monitor headphones. These supra-aural (over-the-ear) headphones filtered out extraneous noise and let me listen to only the audio that was passing through the camera. Super low budget filmmaking does mean sometimes sacrificing good sound for usable sound, and though I did my best to keep acceptable levels and avoid distractions like wind and pops, a few problems snuck through anyway. Post-production was going to be fun.
I carried all this and my Libec lightweight tripod in the Domke Iguana 20 photo backpack. This pack was amazing. It features moveable Velcro separators that allow you to customize compartments within the main bag, and has several straps and pockets for lashing, compression, and storage. The bag also comes with a pocket that allows you to strap a lightweight tripod to the side or front of the bag. And finally, the bag unzips in three different ways for easy access to gear in different parts of the pack.
Lighting presented a very large problem, one I knew I’d be dealing with the entire project. This problem did, however, stretch my creativity and problem solving skills. Several factors prevented the production from having even a basic lighting kit, not the least of which were budget and crew. There was no budget to rent a kit for an entire week. I was able to borrow a small on-camera light from a colleague, but this would prove to be useless in most situations. Keeping this in mind, and realizing that I had never seen any of the locations in which we’d be shooting, my producers and I drew up a rudimentary interview lighting plan. We were shooting in September, a month in which the weather would be fairly cooperative. Warm temperatures and little rain would allow us to shoot many of the scenes outdoors. Fortunately for us, a Pow-Wow and rodeo were happening that week, so a lot of the shooting would be outdoors in sunny environments. Of course, as any lighting cameraman knows, sun can be your worst enemy on a shoot, causing deep, harsh shadows and very high contrast. My solution to this was to shoot interviewees under the protection of a tent or in the shadow of a building. Backgrounds did tend to bloom out under the harsh light, but it was more important for the subjects to be well lit than the backgrounds.
Indoor shots presented a more difficult challenge. We avoided them as much as possible, but sometimes we just had to do it. In one case, we were shooting in a large, circular room with 30 to 40 foot ceilings. Aside from the sound bouncing all over the place, the lighting was horrible. There were several large industrial room lights on the conical ceiling, and a large circular skylight. The skylight allowed in some very diffused skylight. After some basic white balancing and opening up the iris as much as possible, I used the on camera light for a bit of fill light. With no reflectors or additional lighting units, I shot the scene. This whole production had a sort of cinema vérité lighting scheme, though I left out the immediacy of the handheld camera. The elders speak slowly and quietly, so I felt that handholding would really take away from the message.
Camera settings were left at their default levels in the F6 scene file. I had decided early on that I would be shooting in the 24p Advanced mode, which records to tape in a 2:3:3:2 pulldown. This mode produces a more film-like image by recording four full frames for every five frames of video recorded to tape. The remaining two are split field frames. Once in post-production, applying a 2:3:3:2 pulldown filter would drop the last two frames, leaving the four clean, progressive scanned frames.
Panasonic’s CineGamma setting in the 24pA mode effectively controlled the high contrast light through its knee settings.
The DVX100A actually handled the high contrast situations well, giving rich, warm colors while keeping the contrast somewhat under control. This allowed me more freedom and less color correction in post.
The Night Before
Some form of planning on a documentary shoot is essential. This becomes no more evident than when something goes wrong.
Murphy’s Law states that if something can go wrong, it will. When working on a film production, anything that can go wrong, will go wrong…at the very last minute.
Such was the case with the Lakota Elders Project. Two students were scheduled to work on the film as virtual liaisons between the viewers and the elders: one student from Tunxis Community College, the other from Si Tanka University. The Tunxis student would have acted as a production assistant to me while also helping with the questions.
The Si Tanka student was to be the Lakota youth talking on camera with the elder. At 6 p.m. the evening before we were to leave for South Dakota, we received a phone call. The Tunxis student had been in a devastating motorcycle accident, and was in the hospital with serious injuries. She would not be joining us on the trip. Needless to say, this was a blow to all of us, both personally and professionally. While the accident was tragic, we knew we couldn’t let this slow us down. We needed to rethink our plans immediately.
Go With The Flow
The incident from the evening before was only the start of our problems during the 5-day shoot. The Lakota people run on a very different clock than much of the rest of the country. They take their time and are very deliberate and thoughtful in everything they do. As a result, schedules you set don’t always hold true. Several problems presented themselves almost instantly.
My producers had only a little experience in planning a film of this type, and because of “Lakota Time,” we didn’t have a set schedule of interviewees. Much of our time was spent looking for elders willing to speak with wasicu, the Lakota word for white people. It was a difficult search, as the Lakota are very guarded when it comes to wasicu. And with good reason. Broken treaties, broken trust, and exploitation have all contributed to a sort of mistrust. Yet the Lakota are very kind and giving people.
After some convincing that our intentions were honorable, and that the film was being done for the tribe, some people sat down and spoke with us.
While the producers went searching for interviewees, I went about shooting B-roll and cutaways for use in post-production.
On a documentary, these pieces of footage can be lifesavers.
Being able to adapt to the situation is important in any documentary shoot, and this one was no different. Eagle Butte is an impoverished town, so people don’t always have telephones. Many people also live outside of the main town, and in the US Plains, that can mean they live many miles out in the middle of nowhere. Because of this, it was often difficult to contact not only our interviewees, but also the student from Si Tanka University. Often the Si Tanka student would seemingly appear out of thin air, showing up in the oddest of places.
Sometimes, we simply couldn’t find him at all. In these cases, one of our producers would fill in for the student. Since we were finding it difficult to schedule elders ahead of time, we often found ourselves just wandering around town, speaking with locals who could lead us to an elder. At one point, I even found myself the only white person in the Tribal Council Chambers during a town meeting. Uncomfortable?
Yes. But definitely a learning experience.
As a low-budget documentary filmmaker, you will undoubtedly find yourself in many uncomfortable situations. These circumstances may offer the best footage for your film.
After the shoot, I sat down for what I knew would be a long and tumultuous journey along a road with twists, turns, angst, strife, black holes, and more than a few small plastic toys thrown across the room. Yes, it was time for post-production. And, as any good editor knows, a plan is in order. I had no editing assistant, no intern to do the dirty work of logging for me. I did, however, have a very important document at my disposal. Ripley, who is part Lakota herself, had created a thorough outline that included the seven Lakota values, each value section containing some of the elders who had explained these values through their stories. This outline provided a perfect guide for the film.
The edit room is really where the documentary’s story will come to life, and there is no more important phase of editing than the logging of the footage. My plan came about in the logging and digitizing of around ten hours of footage. This part of editing is important because it allows you, as the person who shot the footage, to take a more subjective look at the tapes. I was able to really see what I had shot and pick and choose from the best clips. You will eventually get tired of seeing the same interview shot and hearing the same person talking over and over and over again, but you’ll also be able to shift and shape the program into something that will not only hold your audience’s attention, but pull them in to a gripping, emotional story.
At this point, every editor has his or her own style. Here are a few ideas to keep in mind when editing your documentary. First, log your footage first. Before you let a single byte of information flow through that Firewire cable, make sure you know all your footage: the good, the bad, and the ugly. This will prepare you for the next step: The Edit Decision List, or EDL. In technical terms, the EDL is a list of your logged footage with its timecode in and out points. In this case, however, I’m referring to a basic outline of the story your footage is trying to tell.
Unlike a traditional narrative feature film, your “screenplay” will be written in this phase of production. Allow the narrative to come out and play by giving the film a beginning, middle, and end. Introduce your characters and begin the story in the exposition; hit your first “plot point,” a conflict that spins the story into a new direction (e.g., your documentary subject reveals they have a terminal disease, but they’re going to do something about it); continue with your Act II where most of the action occurs – let your subjects tell their stories, through their words and actions; hit your last plot point, the climax; then move on to your Act III, where you wrap up all your loose ends. A word of warning: use title cards sparingly, if at all. Title cards – those parts of a film where the filmmaker puts up a screen full of text – are acceptable for getting the audience up to speed quickly, (for example, I used several in the beginning of the LEP to give a little bit of history of the Lakota people), or for informing people of the status of a subject long after filming is complete, but using them as a crutch for a lack of content is simply unacceptable and poor filmmaking technique. Avoid this mistake in your planning phase before shooting begins. Allow for the shooting of extra footage, ask more questions than you had planned – anything to further the story along without using title cards.
Like a Puzzle
Filmmaking, by its very nature, is a collaborative endeavor. Sometimes hundreds of people come together with the goal of producing an entertaining, interesting, and sometimes educational piece of work. Yet, even when your crew is limited to three people, the collaboration remains key. Documentary film is like a jigsaw puzzle. When you begin, you’ll have hundreds of pieces scattered on the floor, with no semblance of a finished product. As you move along, shooting interviews and events, planning and re-planning, dealing with the unexpected, viewing the footage, and cutting it all together, the pieces begin fitting together until finally, they all fall into place. Just like any puzzle, this requires a great deal of patience and determination. It’s not easy; so don’t expect it to be. Documentary film can be a very personal and intimate journey for the filmmaker. No more so is this true than in the super low-budget documentary, where a few people may fill the roles of many. It can be a very rewarding experience, but it is also one that will require effort above and beyond that of a traditional film production. Planning ahead while being able to “go with the flow” will help to keep you on track and in the game, allowing you to create a documentary masterpiece.
Chris Cavallari has been working in television, video, and film for 11 years as a cameraman, lighting director, video editor, and grip. By day, he is the Lead Television Studio Technician for an Internet Webcast TV Network; by night, he writes and directs films and podcasts for his company Filmosity Productions, produces the podcast, “The Martini Shot: Moviemaking for Beginners,” and runs the New Jersey Podcasters Association.
His website is www.filmosity.com.
Related filmmaking guides
- Film directing: getting good performances
- Coverage and the master shot
- Camera angles in film: a beginner’s guide
Keep learning filmmaking
Want more lessons like this? Join StudentFilmmakers free for live webinars with working pros, and stream on-demand filmmaking classes in cinematography, directing, screenwriting, sound and post.