
Made on a Phone, Part 2 of 4. A short, practical series for high school and college filmmakers.
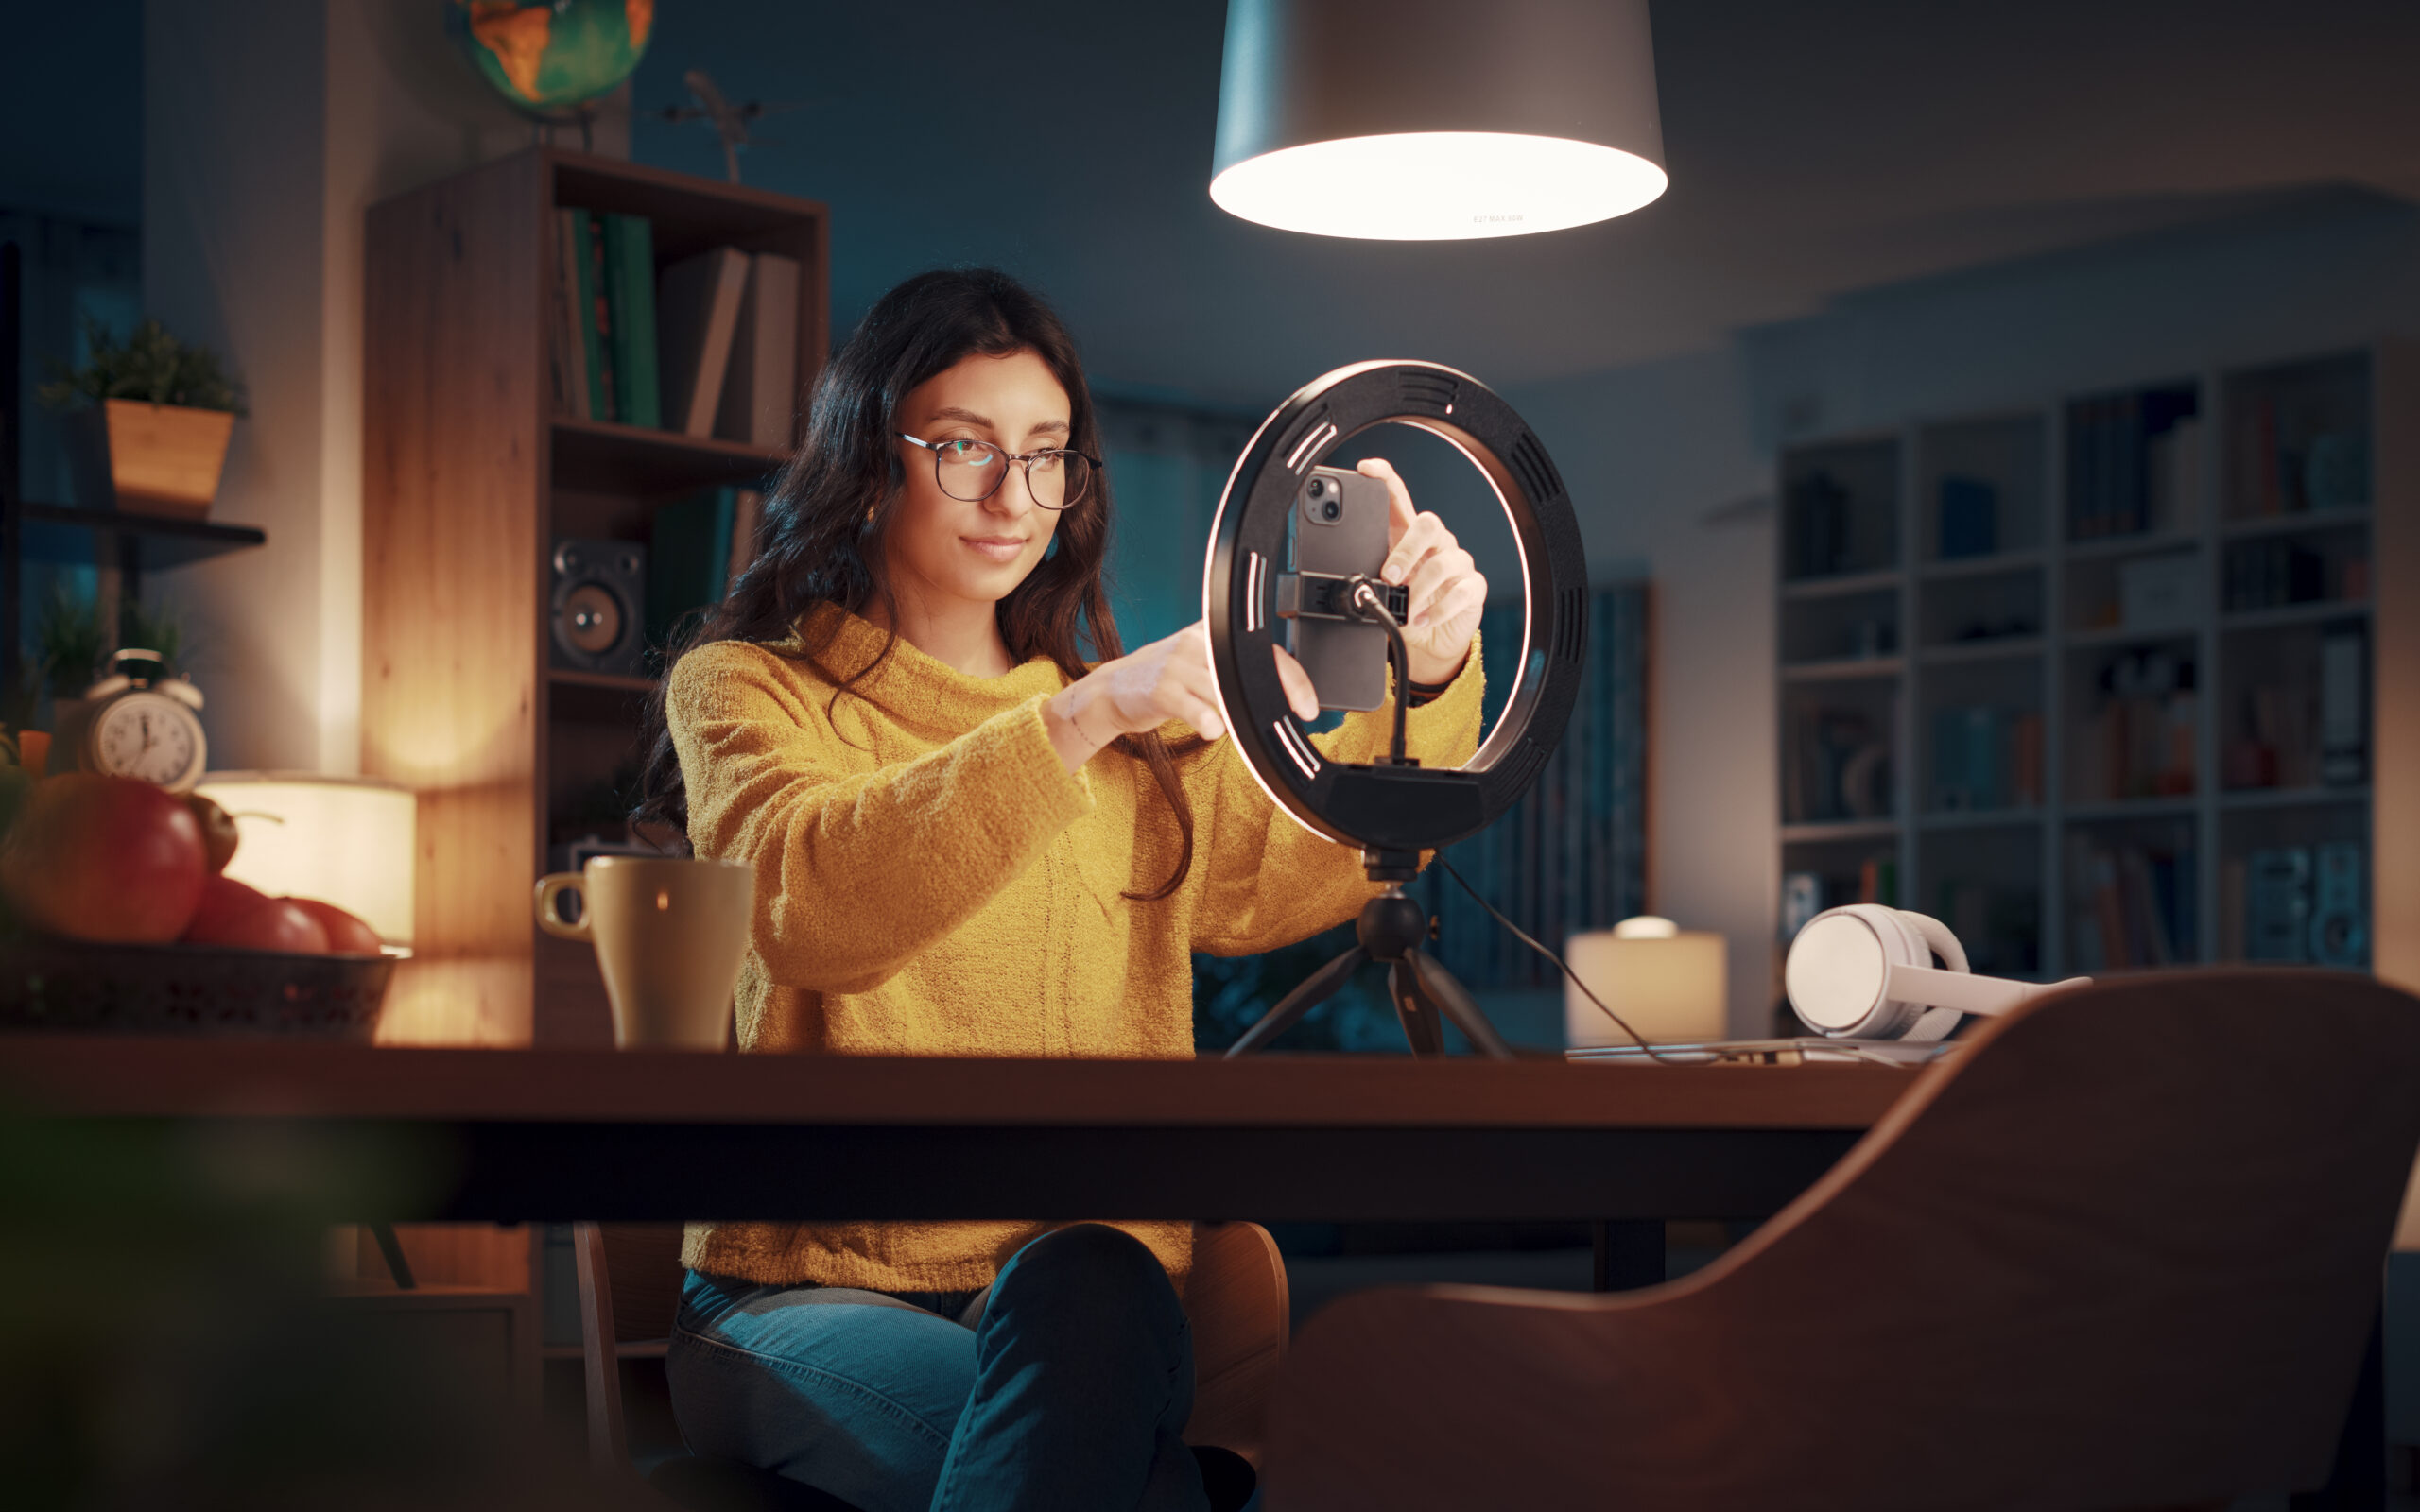
If you only remember one thing from this series, make it this: the light matters more than the camera. A phone in good light looks better than an expensive cinema camera in bad light. Phone sensors are small, so they need plenty of light to look clean. Give them that light, and give it a direction, and your footage starts to look like a film. You don’t need to buy lights. You need to notice the light you already have. New lighting words? Our Film Terms Glossary (lighting terms) explains them in plain English.
Here is how to light your film with what is around you.
1. Use a Window
Best light: a big window with no direct sun coming in
Place your actor: beside the window, so light falls on one side of the face
Avoid: the window behind your actor (they turn into a dark shape)
Window light is soft, beautiful and free. Put your actor next to the window and turn them a little toward it. One side of the face is bright, the other side falls a little darker. That shadow side is what gives a face shape and makes the shot feel like cinema. This is the key light in a classic setup, and you got it for nothing.
2. Turn Off the Ceiling Lights
Overhead lights: flat, and they make dark circles under the eyes
Instead: lamps, windows and light from the side
Bonus: fewer mixed colors in your shot
Ceiling lights hit people from the top and fill every corner with the same flat light. Switch them off and light with lamps and windows instead. Your scene will have shadows, depth and mood. It’s one of the easiest changes you can make, and it costs nothing.
3. Bounce Light with a White Board
Use: white poster board, foam board, a white sheet or a sunshade
Place it: on the dark side of the face, just out of frame
What it does: fills in shadows softly (a reflector)
If the dark side of the face is too dark, hold a white board on that side and angle it to catch light from the window. Move it closer for more fill, farther for less. A friend can hold it, or lean it on a chair. If you want more drama instead, hang a black cloth on that side to make the shadows deeper. Filmmakers call that negative fill.
4. Don’t Mix Light Colors
Daylight: blue-white
Home lamps: warm orange
Phone tip: lock white balance in a pro camera app so the color stays the same
When window light and a warm lamp both hit the same face, one side looks blue and the other looks orange, and the phone can’t fix both. Pick one: daytime scenes with window light and lamps off, or night scenes with lamps and curtains closed. Keep it the same for every shot in the scene.
5. Shoot Outside at the Right Time
Best: the hour after sunrise or before sunset (golden hour)
Hard noon sun: move into open shade, like the shady side of a building
Overcast days: soft, even light that is easy for phones
Midday sun makes people squint and puts hard shadows under the eyes and nose. Golden hour light is low, warm and soft, and everything looks beautiful. If you must shoot at noon, step into shade where the light is even. Plan your outdoor shots around the sun, not the other way around. Our article Working with the Sun goes deeper.
6. Night Scenes Without Noise
Use: lamps in the shot (practicals), string lights, a TV or a laptop screen
Bounce: a flashlight off a white wall or ceiling for soft light
Avoid: pointing the phone light straight at faces
Phones get grainy in the dark. The fix is not to shoot in real darkness, but to make it look dark while there is still enough light on your actor. Keep one lamp near the face and let the background fall darker. Lock exposure on the face. Dark backgrounds with a lit face read as night on screen.
7. Light Is This Month’s Theme
Ideas: a candle, a flashlight, sunlight moving across a room
Try: let light change during your shot, and let that change be the story
Our 1-Minute Film Challenge theme this month is Light. Everything in this article is a story tool too. A curtain opening, a lamp clicking off, a phone screen lighting a face in the dark. Each one can carry a whole one-minute film.
Ready to try it? Our free 1-Minute Film Challenge is open now. This month’s theme is Light, and you can shoot it on your phone. Make a film of one minute or less and send it in before December 31, 2026. We would love to see your work.
Earn your Film Basics badge. Pass five beginner quiz challenges (Everyone Should Know, Camera, Lighting, Sound and Editorial terms) and a gold 🎬 Film Basics badge appears next to your name on your community profile.
Q: Do I need to buy lights to make a short film on my phone?
A: No. Windows, lamps and a white poster board can light most short films. Buy lights later, once you know what you are missing.
Q: What is the best light for filming with a phone?
A: Soft light from the side, like a big window without direct sun. It is flattering, it gives faces shape, and it gives the small phone sensor enough light to look clean.
Q: How do I stop my phone video from looking grainy?
A: Add light. Grain comes from shooting in too little light. Move closer to a window or lamp, bounce light onto your actor, and lock exposure on their face.
In Conclusion
Good light is free. Use a window, turn off the ceiling lights, bounce with something white and keep your colors from mixing. Your phone will reward you with clean, cinematic images. Next, in Part 3, we tackle the part most first films get wrong: sound.
The Made on a Phone Series
Part 1: Camera Settings
Part 2: Light (you are here)
Part 3: Sound
Part 4: Steady Shots
Next series: Your First Film
Additional Resources
Three-Point Lighting: Key, Fill and Back Light
How to Build a Budget Lighting Rig
Working with the Sun on Outdoor Shoots
Cell Phone Cinema: An Overview
Film Terms Glossary: Lighting Terms
The 1-Minute Film Challenge (theme: Light)